
" height="39.77198px" id="BKLRi9ayM" transform="translate(2 3.808)" width="44px"/></svg>)
Last Update : 05 May 2026
7-steps
Editing
Guide
Learn the basics of editing your new template so that you can get your website up and running as fast as possible. 7 steps and your website will be ready, done in a few hours.


Introduction
Thanks for purchasing one of my framer website templates and for your support!
The following documentation should provide you with all the necessary basic information for you to get familiar with the way my templates are built and to start basic customisation.
Haven't bought a template yet? Choose your template here.
Important notes
Before you read this basic tutorial, remember that as Framer and the way I build Framer templates evolves, some parts of this tutorial may no longer apply to the specific template that you purchased.
This guide aims at getting your website up and running as fast as possible by teaching you how to edit the basics.
The screenshots used in this tutorial may not be from your chosen template but should look familiar.
If you're brand new to Framer, I recommend starting off with the Framer Fundamentals course to get familiar with the way it works.
The basics
1 - Colors
Colors are named based on where/how they are used. To edit the colors:
Click the "Assets" tab at the top of the left panel.
Scroll down to the "Styles" section.
Click on the folder named "Color".
Click one you want to edit and use the color picker or enter a HEX/HSL code.
I recommend editing the brand colors first, and then the "BG -" and "Text -" colors as they are used the most and will make the biggest difference to the look and feel of your site.

2 - Text & Typo
I recommend leaving the text styles as they are but if your brand uses a specific font, you can edit them in a similar way to the colors:
Click the "Assets" tab at the top of the left panel.
Scroll down to the "Styles" section.
Click on the folder named "Text".
Find the styles you want to edit.
Click one you want to edit and change things like the font, font weight, and other properties.

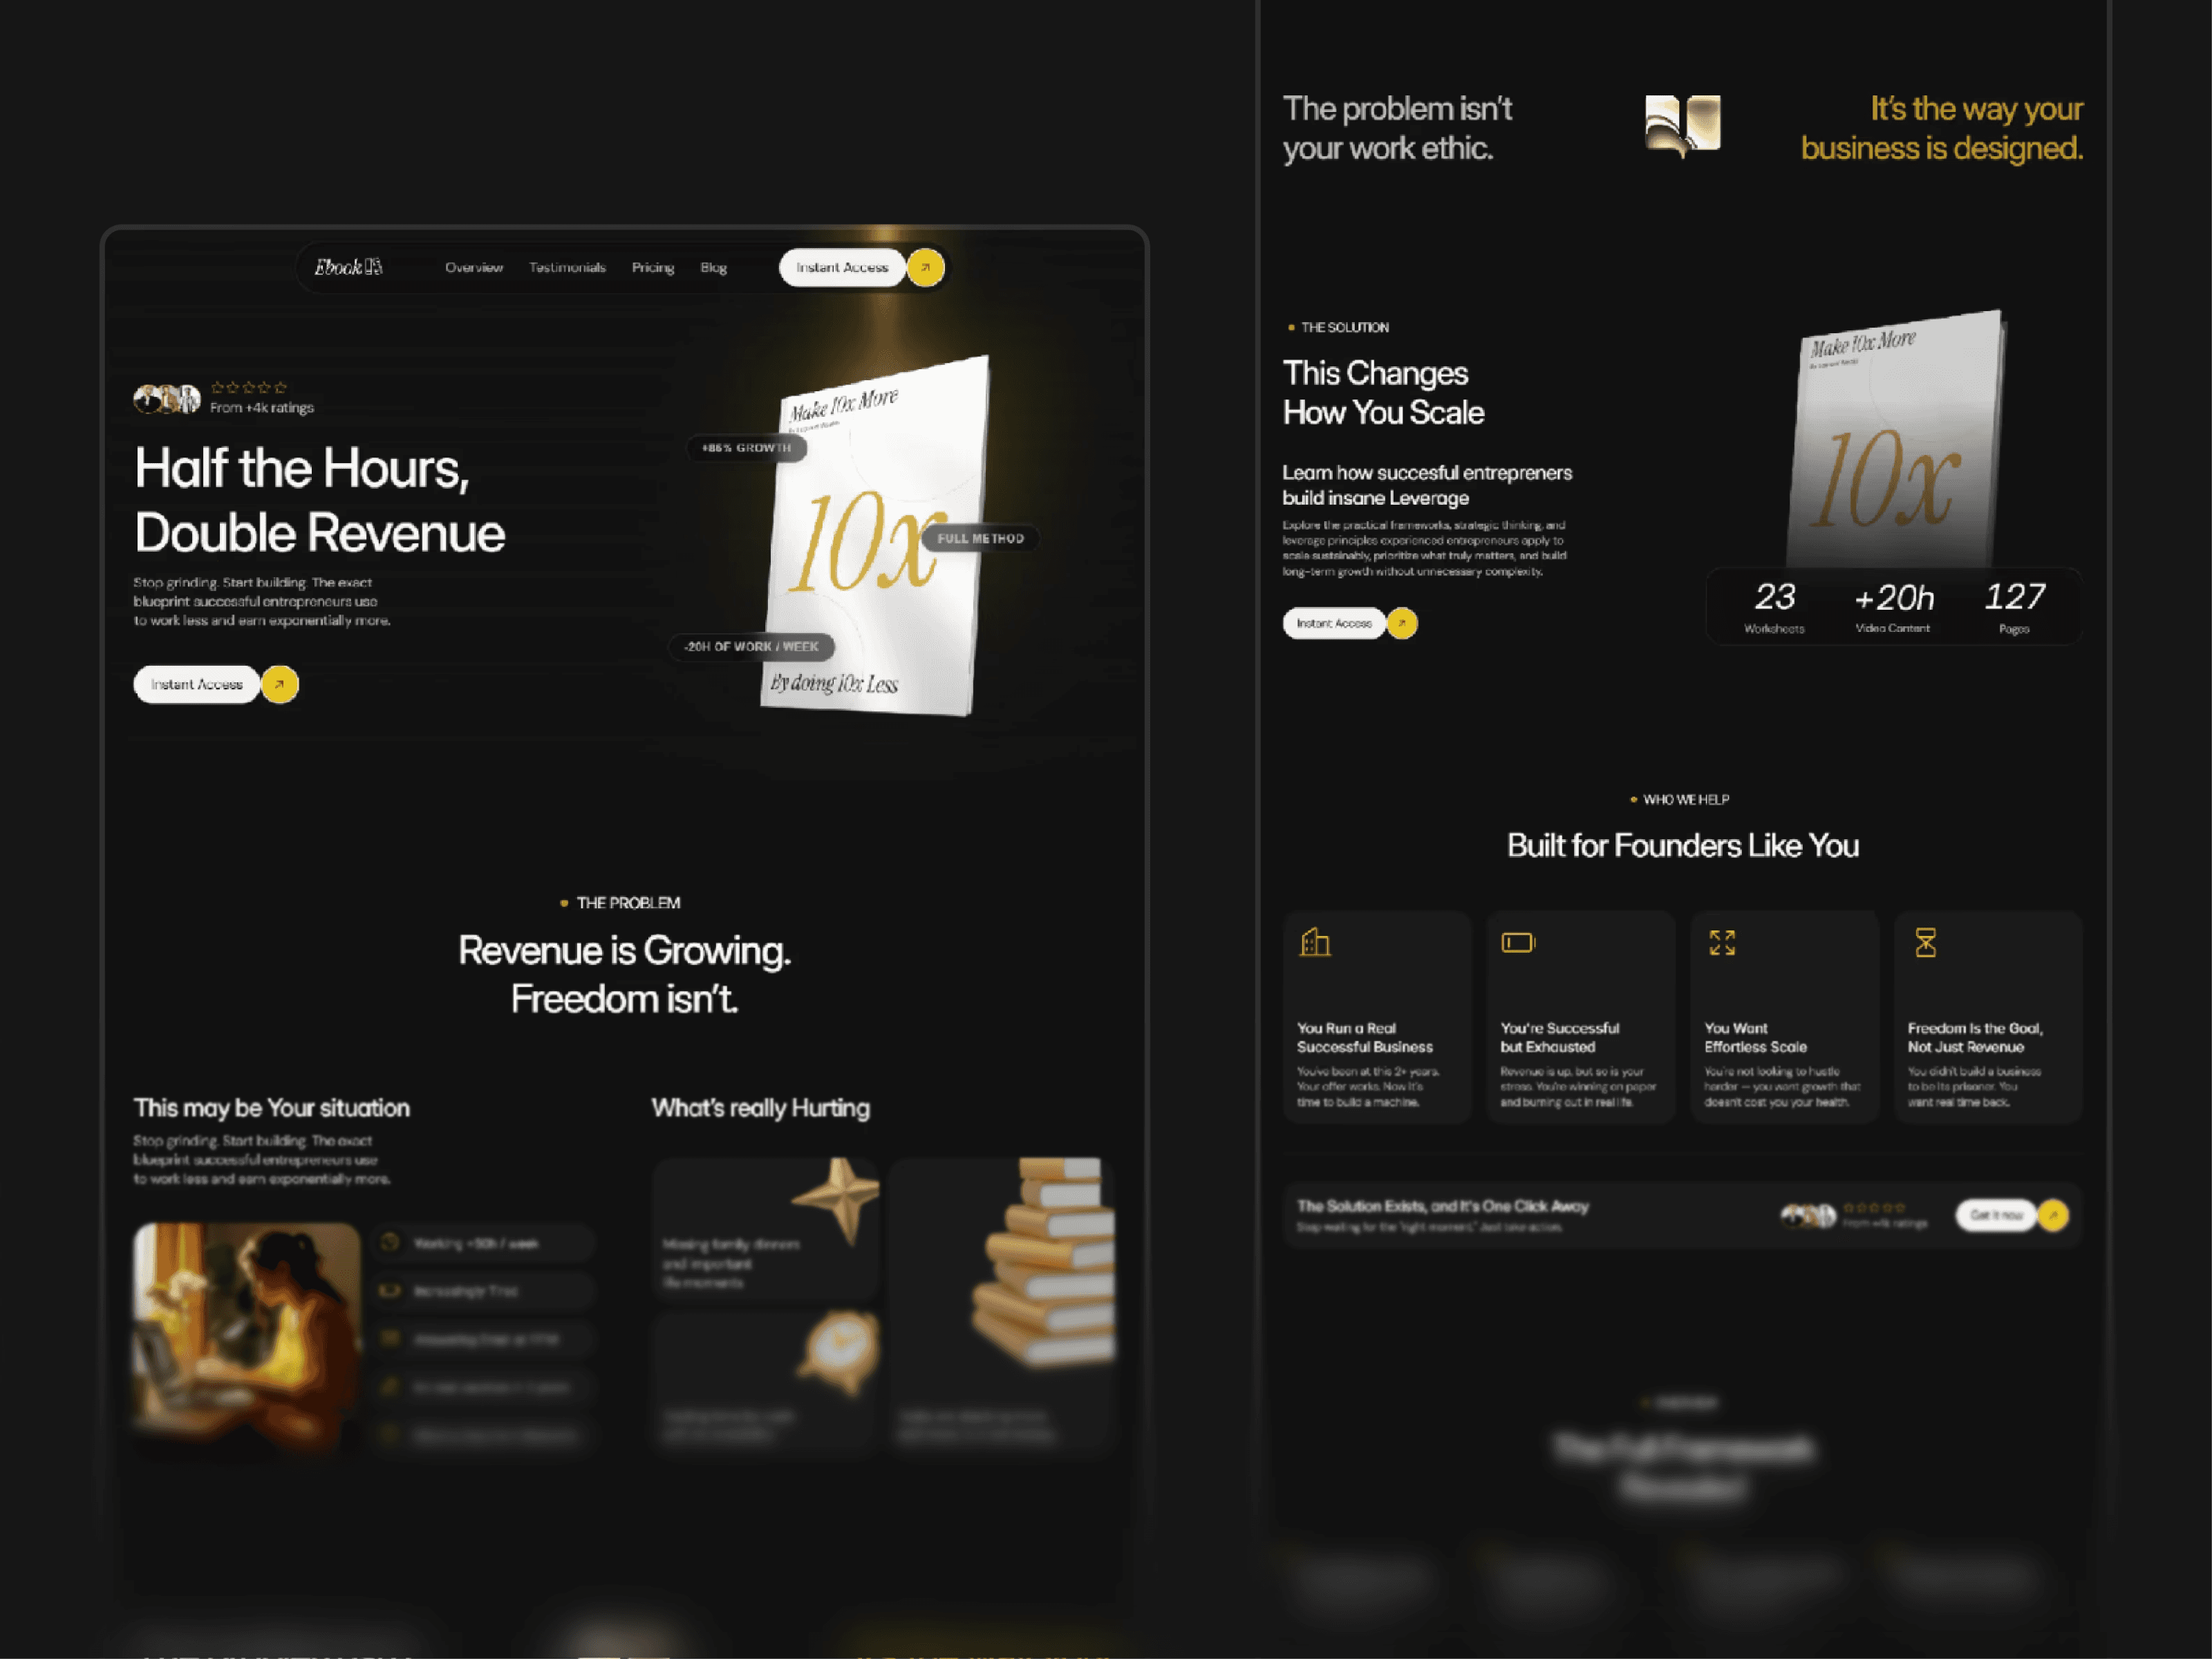
3 - Images, content, and components
The greatest edit you need to go through to change all of the content across the site. You can keep any images you want as they are AI generated and copyright free, however I recommend changing them to real images from your business.
You can edit any block of text or image by double clicking it or by clicking it once and scrolling down to the "Content" or "Fill" field in the right panel.
Text and images inside components (they're purple when you click them) will have clearly labeled variables in the right panel to edit them, as shown in the image below for the "Case Study Card" component from my Refit template.

4 - Links & Form
Getting your links and forms to work is probably the most important edit you need to make and great news, it's stupidly easy.
For Links ( Mail, Phone, Google Maps…)
Click on any button or link – The right panel will show you the link settings.
Paste your URL – Just drop in where you want the button to go. External links need the full
https://URL.For phone numbers – Keep the "
tel:" part and add your number right after. Liketel:+33612345678(no spaces).For email links – Keep the "
mailto:" part and add your email after. Likemailto:example@gmail.co
For your Forms
Setting up forms – Click on the form layer, then look for "Send to" in the right panel.
Add your email – Type in the email where you want form submissions to land. That's it.
Test your form – Send yourself a test message to make sure it's working before you publish.

5 - Logo
The setup will depend on the template you choose, the first option is that the logo can be replaced from the page canvas in the right panel, look for "Logo" in the Template Zone of the right panel. If this is the case, make sure to edit the logo on every pages.
The other option is that the logo is set up as a component which means you only need to change it inside of the component.
Click the "Assets" tab at the top of the left panel.
Scroll down to the "Components" section.
Open the "Navigation" folder.
Click on the "Logo" component to open the component editor view.
Replace the current logo ( Img SVG ) by your logo ( right panel )
The Logo component may not be the same as the one in the footer ( for file-load optimization ) so make sure to also edit the logo in the footer.
The logo component is set to a pixel width that works for the template. Because the aspect ratio of your logo is fixed, it'll scale down to that width. If your logo looks too small or too big, you can adjust the width of the component on the page and your logo will scale up/down to match it.
6 - Header & Footer
The Header and Footer are set up as components in the same way as the Logo. Sometimes, the content can be edited from the outside ( in the Template ), but most of the elements needs to be changed inside of the component. The content is mostly a few bits of text (and links) to edit in them to bring your new site in line with your business, for example:
Location, Phone Number… in the Header.
Copyright information in the Footer.
Email & Phone Number in the Footer.
Social media links in the Footer.
Address in the footer
7 - Site Settings & Publication
Customize your site details
Open Site Settings – Click the gear icon in the top toolbar or go to the site menu.
Update your site name – This shows up in browser tabs and search results.
Add a favicon – Upload a small square image (at least 32x32px). This is the little icon in browser tabs.
Set your SEO title and description – Help Google understand what your site is about. Keep the title under 60 characters.
Add social preview images – Upload images that show up when people share your site on social media.
Connect your domain – If you have a custom domain, add it here. You'll need to update DNS settings with your domain provider
How to connect my custom domain?
Going live with your site
Hit the Publish button – Top right corner, can't miss it.
Choose your plan – Free sites get a framer.website subdomain. For custom domains, you'll need a paid plan.
Get 3 months free using code PARTNER25PROYEARLY – Apply this at checkout to save on your first year.
Publish your changes – Every time you edit, remember to republish. Your changes won't go live automatically.
Check your live site – Open it in a new tab and click around. Make sure everything looks right.
Share it with the world – You're done. Send the link to your friends, post it, whatever.


You're now ready,
Publish your website and get results tomorrow.
Featured Templates
2
/
2

Feel free to reach out if you have any other questions.
How do I use Framer templates?
Do I need to know how to code?
Can I use your templates for commercial projects?
Can I use your templates for multiple projects?
What's the refund policy?
Do I get support after purchasing a template?
Will your templates receive updates in the future?